Hi knitters!
Today we are teaching you a new technique so you can put your WAK crochet needle to use… the Camel stitch!
It’s a very simple stitch, and it won’t give you any difficulty if you know how to make chains and single stitches.
Knit the number of chain stitches that you need to begin your garment, in our case, we started by knitting 6 chain stitches.
Row 1: knit a single stitch on each chain stitch of the previous row.
Row 2: knit a single stitch on every stitch of the previous row, but you shouldn’t put the needle between the row beneath the previous stitch (and not between the “V” of the stitch, like you would do to make a normal single stitch)
Continue following the directions for row 2 for the rest of the rows that your wool garment requires.
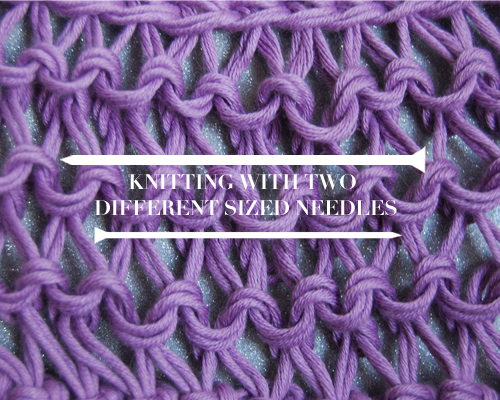
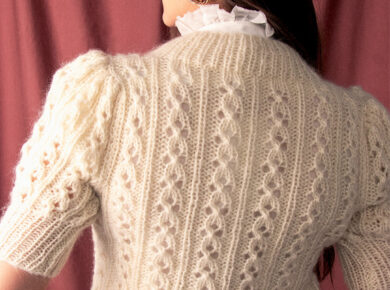
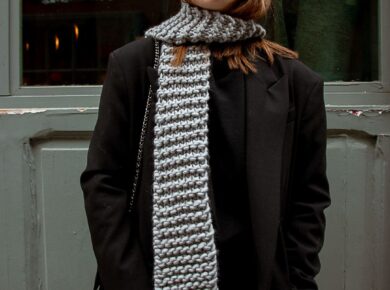
With this stitch the crocheted garment will appear like it was knitted with two needles and it mimics the effect of Rib stitch. In the following picture we show you the exact place you should put your WAK crochet needle.
We recommend that you finish off your garment with a row of chain stitches around the edge for the best results.
Just in case you still have any questions, we are leaving you a video here which explains the technique step-by-step so that you can try this original and simple stitch with your next WAK knitting kit. It will look great on your scarves or hats!


