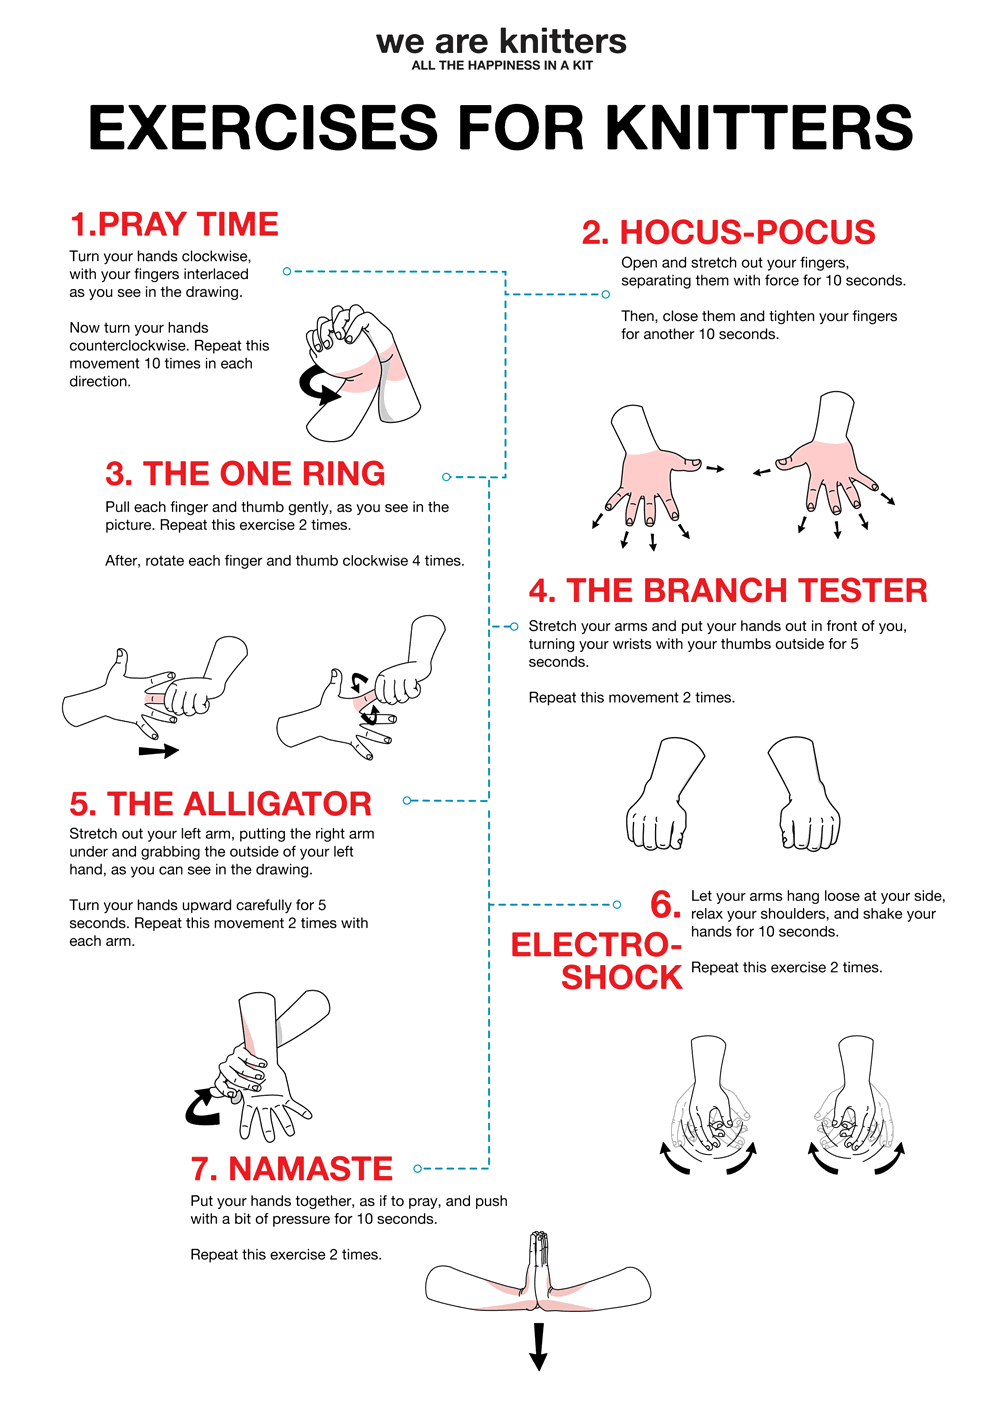
Stitches that seem the most difficult are sometimes the easiest. It’s the kind of stitch that converts a basic garment into something more special and fun. In today’s tutorial we will show you, step by step, how to knit the butterfly stitch. Look how easy!

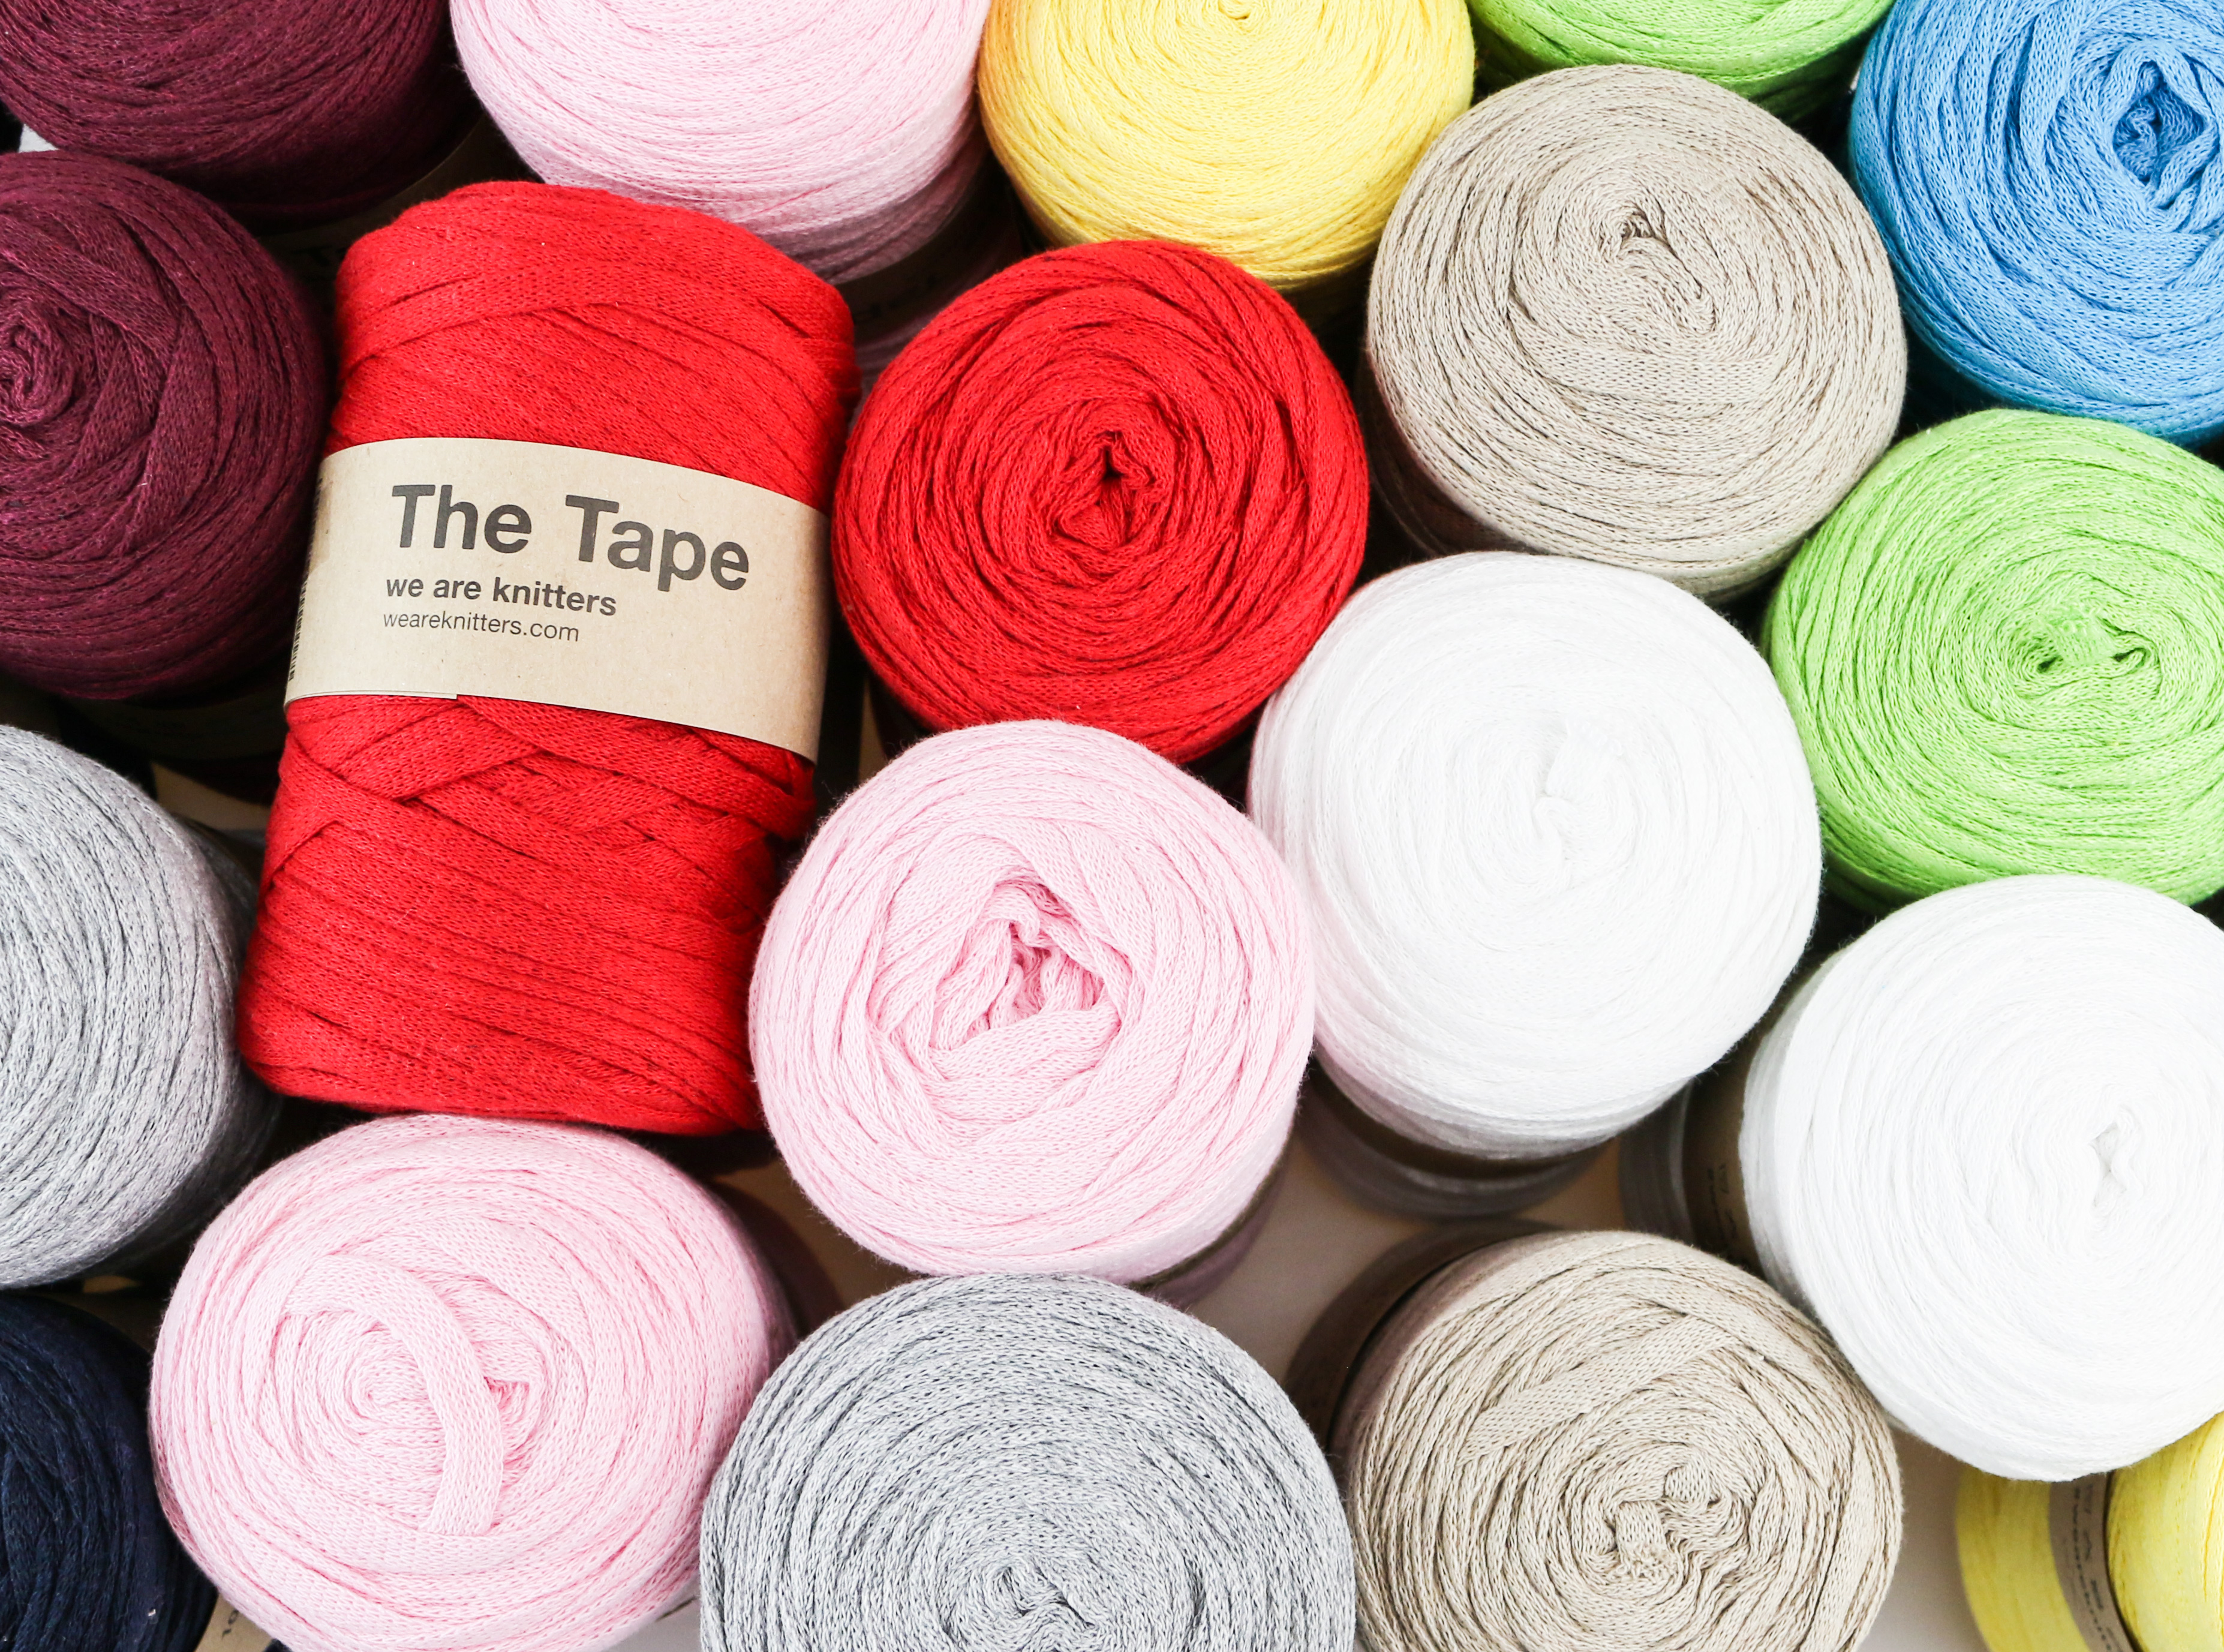
For this tutorial we used a pair of US size 11 needles and a skein of our fine wool The Meriwool.
Before beginning you should review the following techniques that we will be using:
Let’s get started!

We start by casting on a multiple of 5 stitches plus 4 extra stitches.
We divided this step-by-step tutorial into two parts: in the first part we show you how to make the base of the butterfly.
Roll it!
Row 1 (right side): knit 2. * Bring yarn to the front of your work (as for a purl stitch), now slip 5 stitches purlwise from the left-hand needle to the right-hand needle, place the yarn loosely behind your work, knit 5 *. Repeat from * to * until there are only 2 stitches left, knit 2.
Row 2 (wrong side): purl all stitches.
Repeat rows 1 and 2 four more times, until you reach row 10. After knitting 10 rows you should have 5 strands of yarn running across the front of your work.
Now we’re going to see the last part of the butterfly, how to knit the crease that forms the butterfly shape.
Row 11 (right side): knit 4. * Using the tip of your right-hand needle, lift the vertical strands that make up the butterfly from the bottom up, and knit them together with the next stitch (you can see how to do this the right way in the video). Knit 9 *. Repeat from * to * until there are only 5 stitches left. Lift the strands that make up the butterfly and knit them together with the next stitch as before, knit the last 4 stitches.
Row 12 (wrong side): purl all stitches.

This is how the butterflies will look after finishing the stitch repeat.
To make more, you just have to repeat the previous steps.
You can make variations of this stitch: placing the butterflies randomly on the project, making them smaller or larger by varying the number of stitches you slip with the yarn in front (remember they should always be an odd number of stitches so they come out perfect), taller or narrower depending on how many times you repeat rows 2 and 3….
Use your imagination, the sky’s the limit. We’d love to see where you use this beautiful, simple stitch and your variations. Remember to share them on social media using the hashtag #weareknitters.