Here is something else you can do with leftover yarn from one of your WAK kits, use it to make a decorative wall hanging for you home, or as a gift. You can let your creativity run wild making one of these wall hangings, and have fun while doing it.
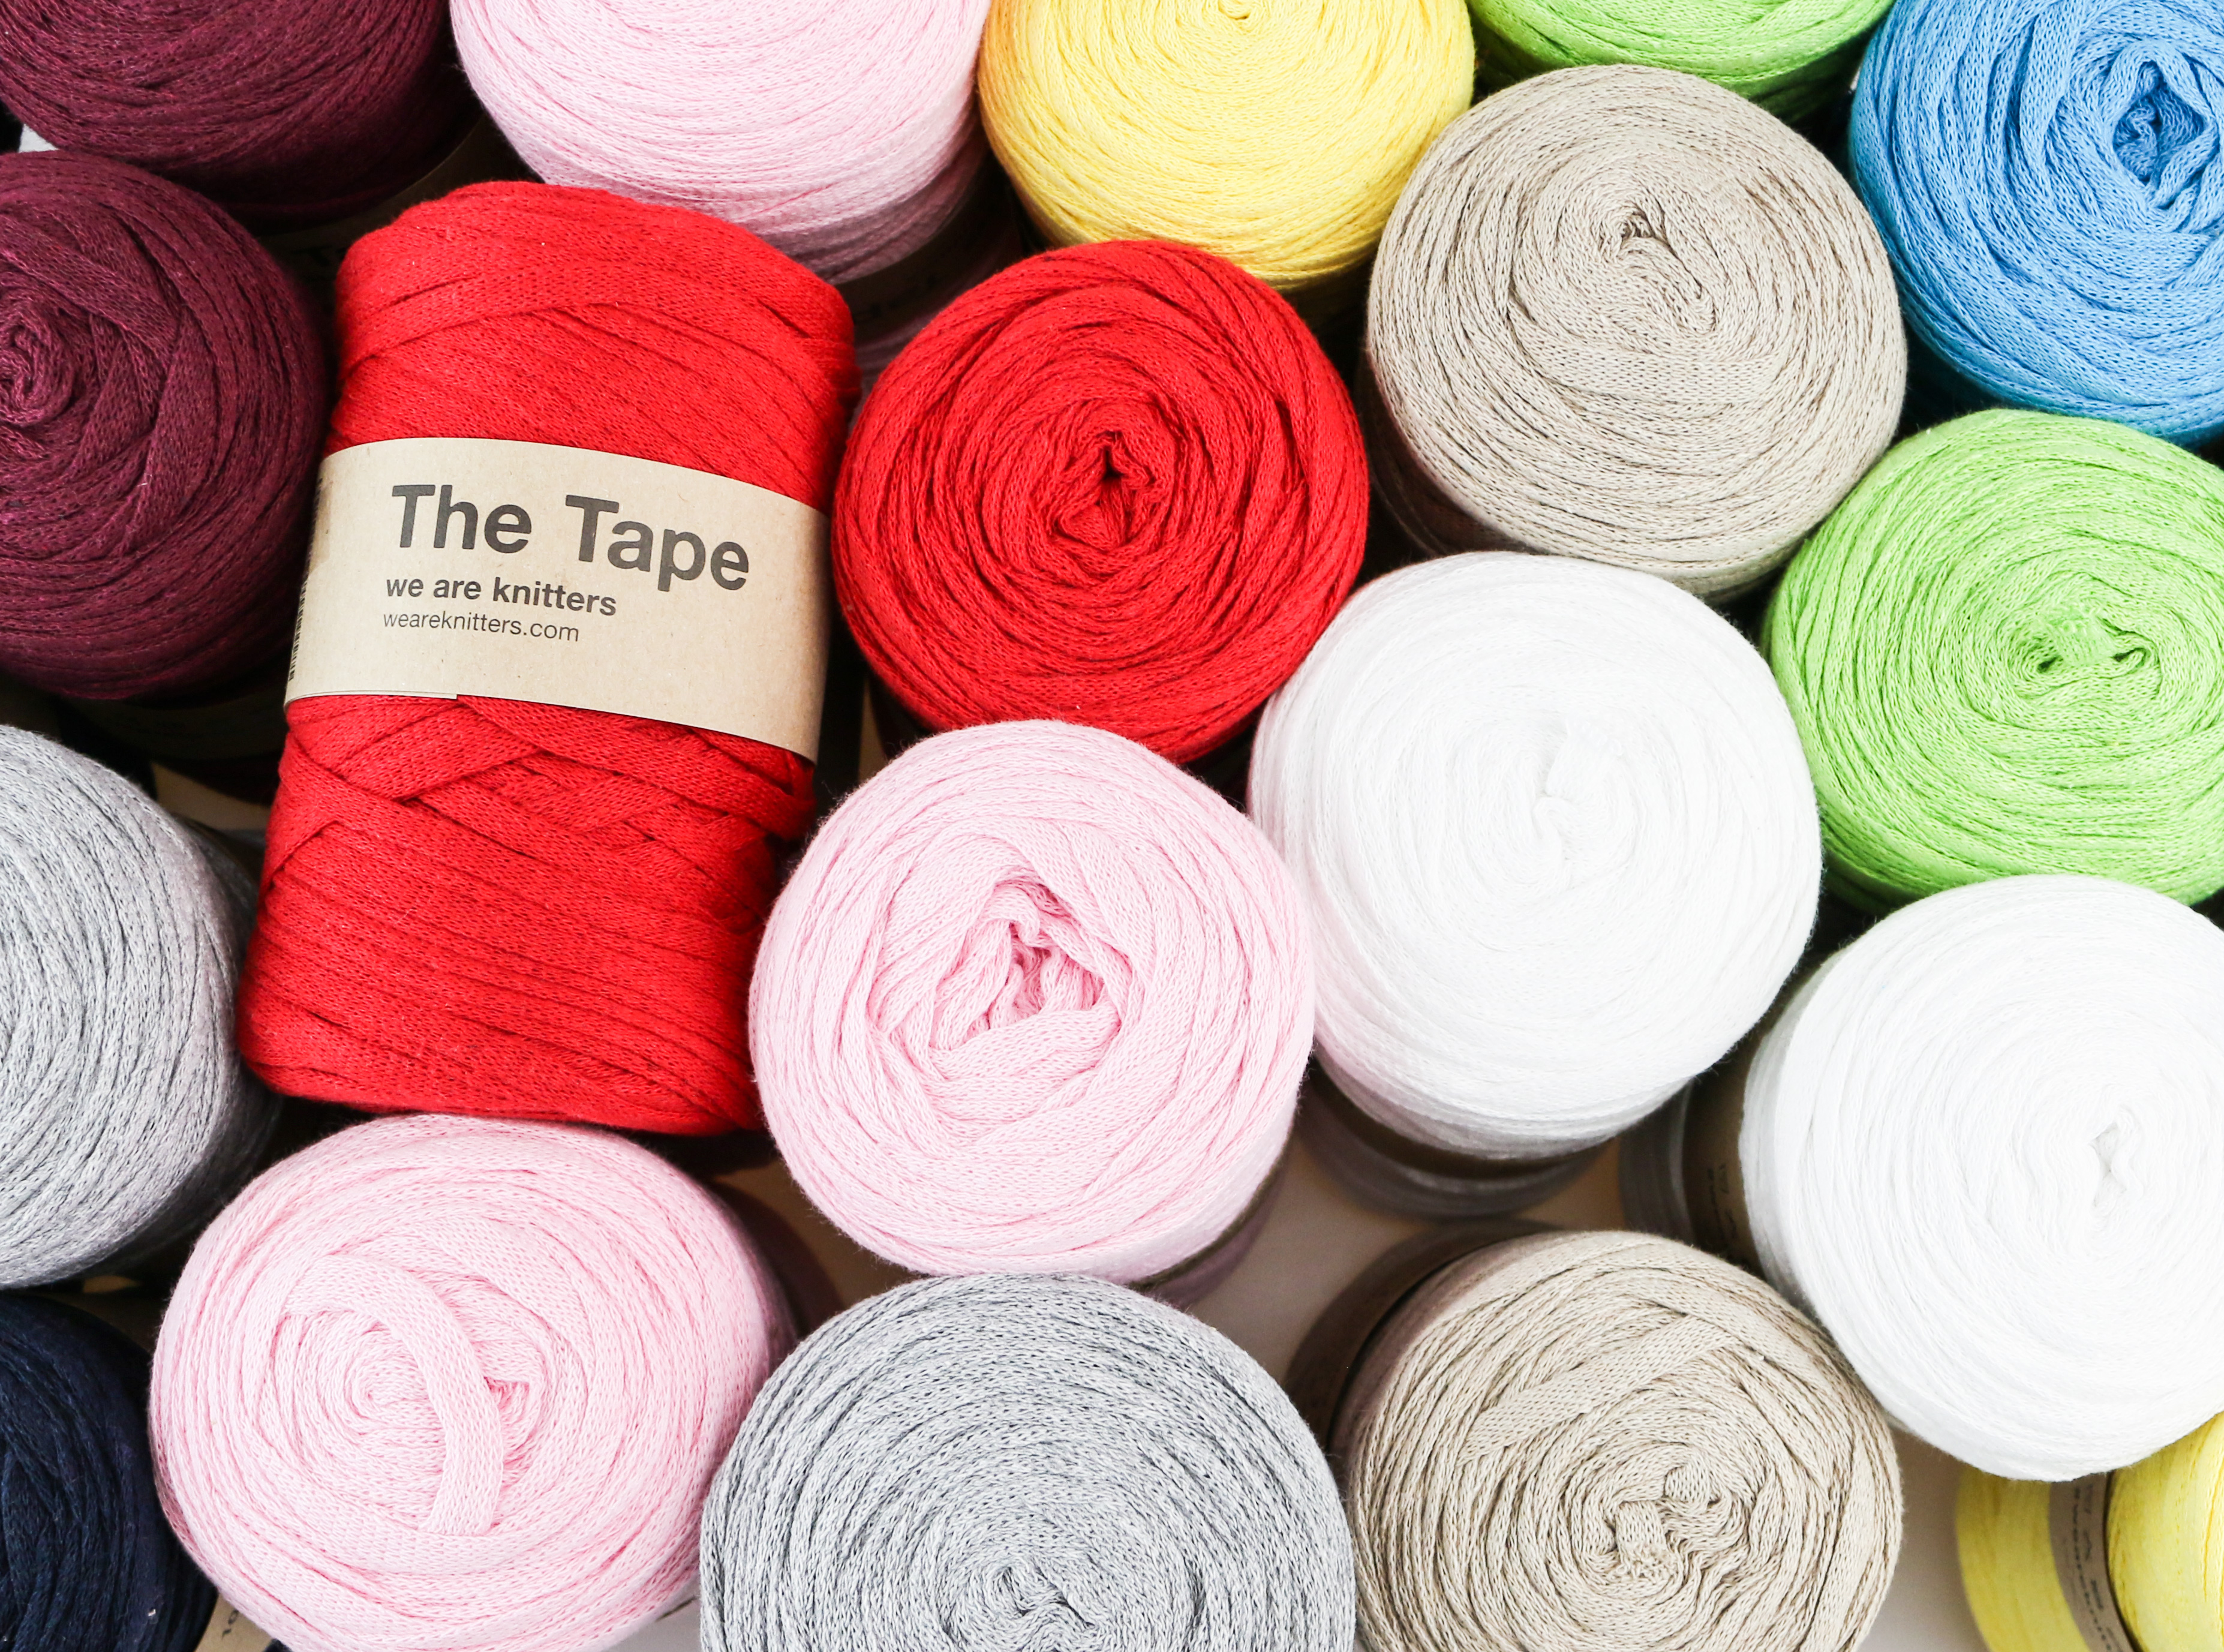
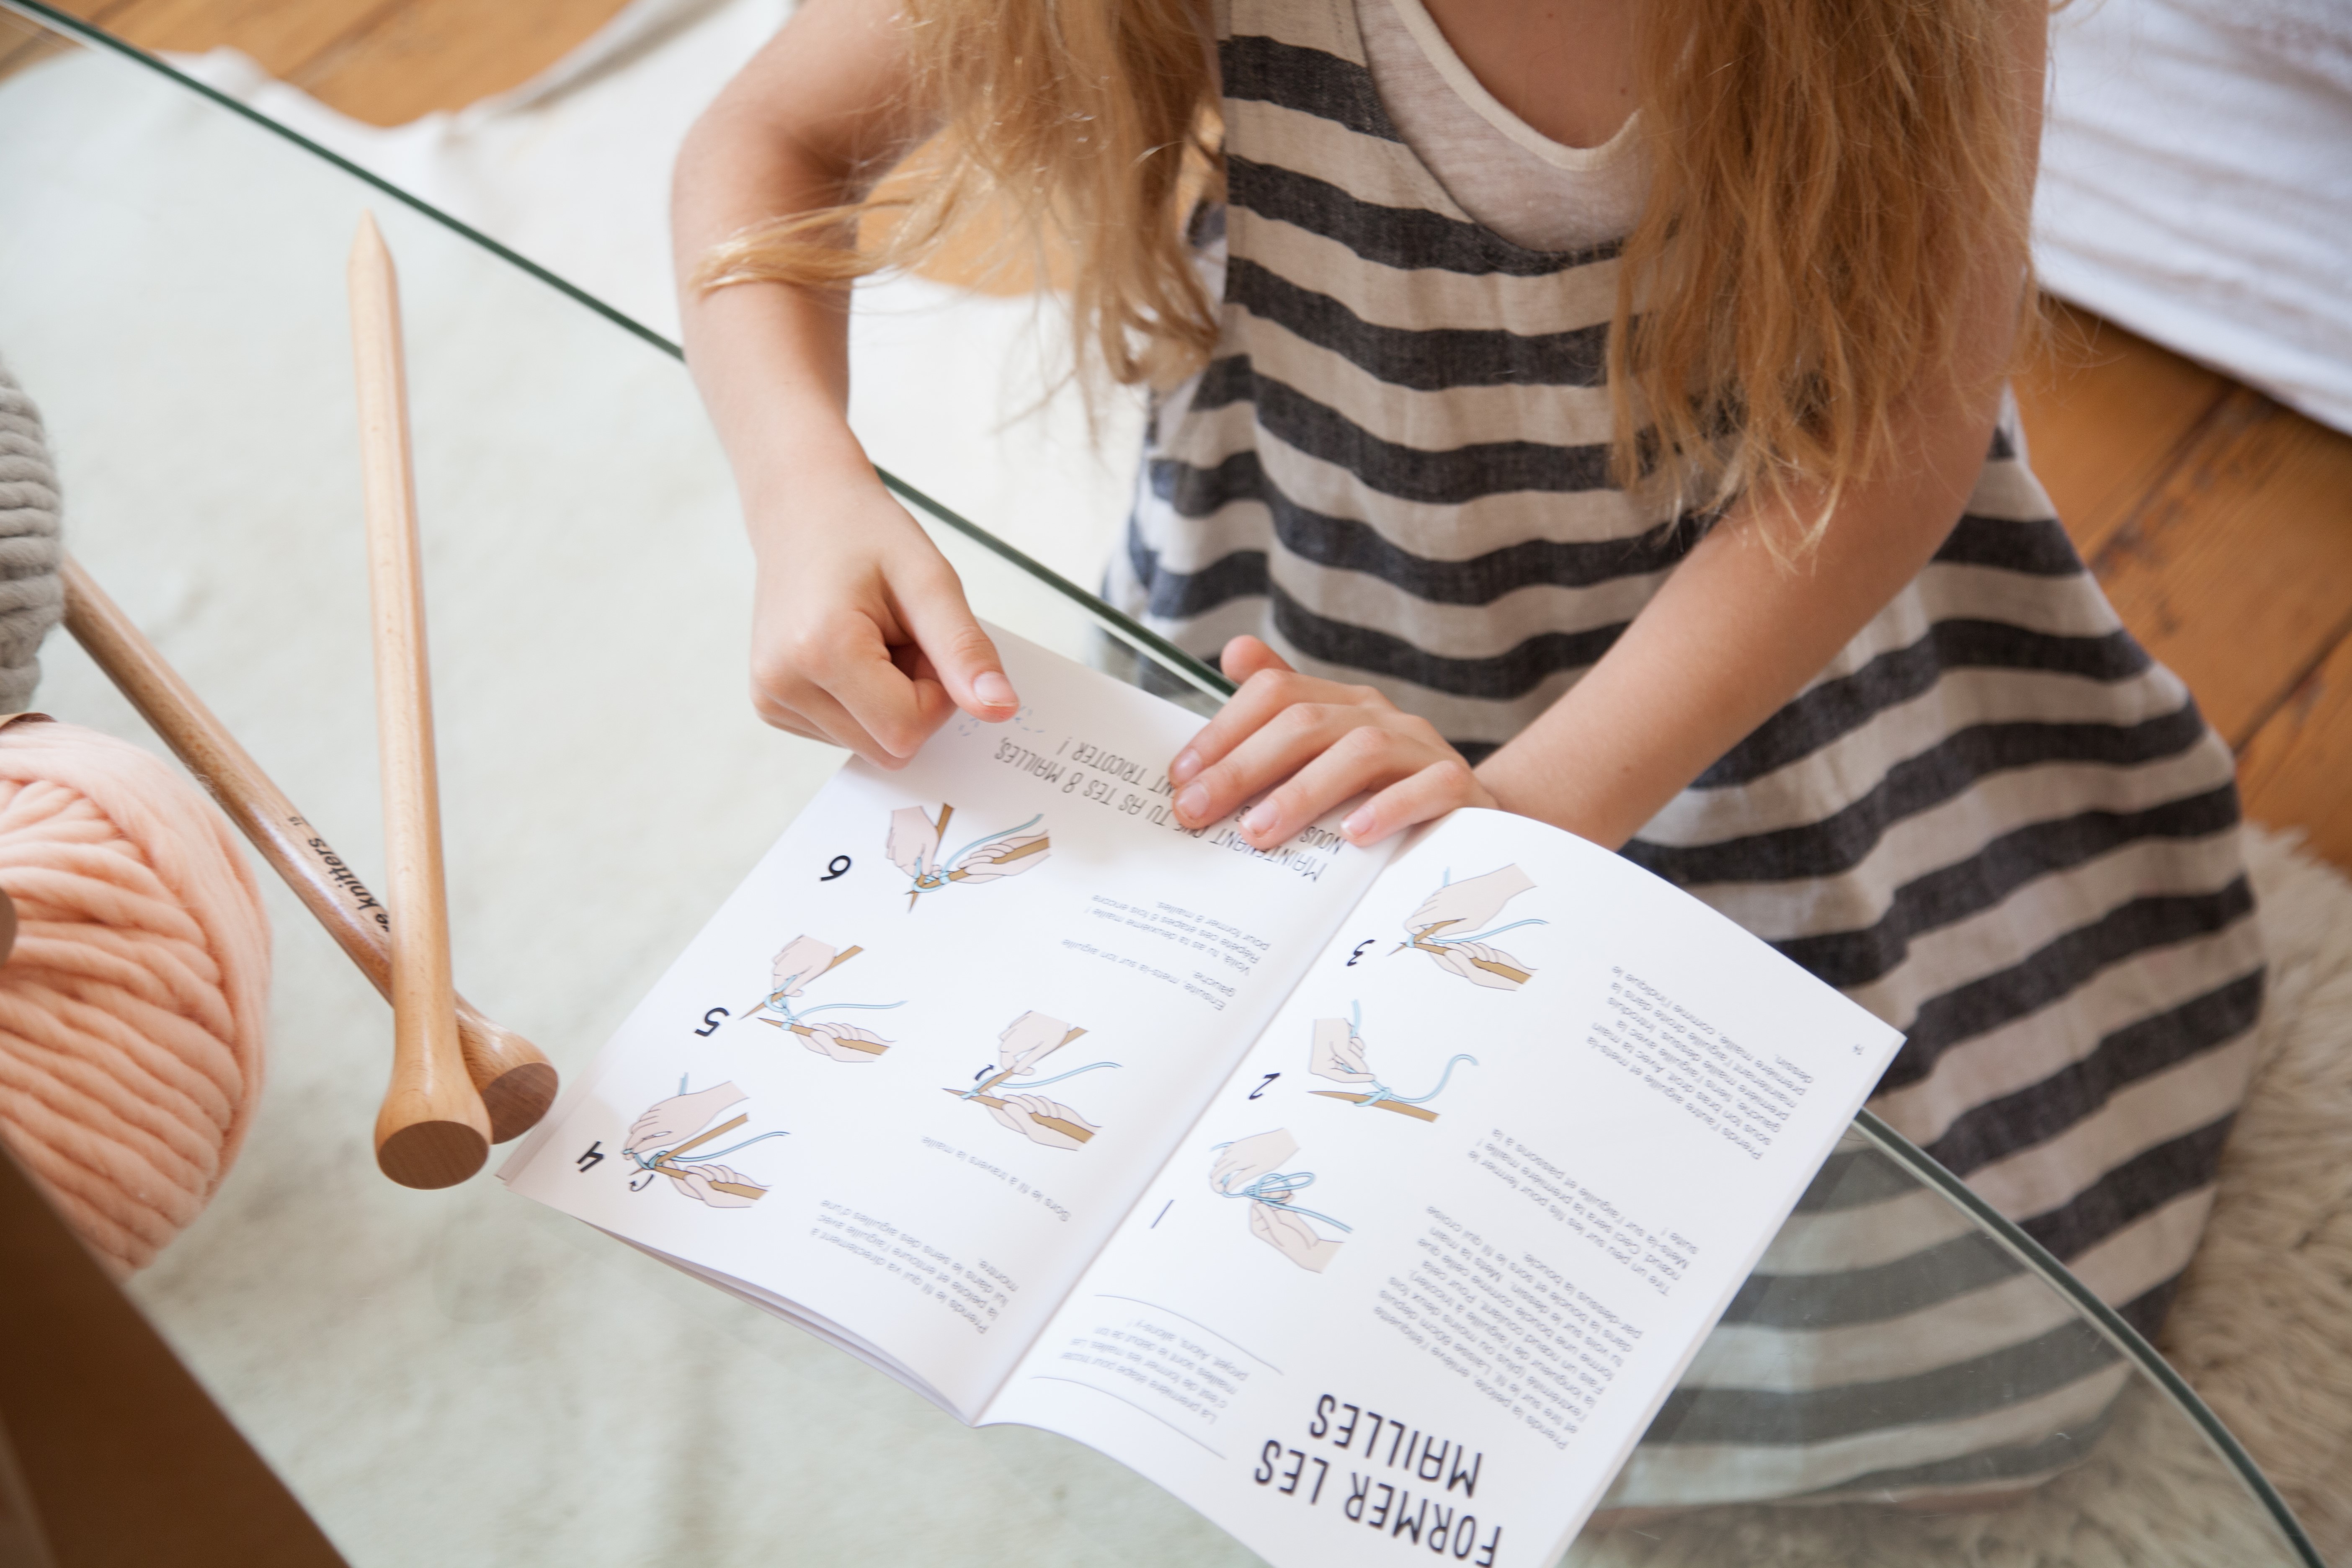
We made three different types of wall hangings so that you can choose the one you like best, but you can personalize it by alternating colors, changing the shape or length, try it out and experiment. We used a beechwood knitting needle as our support for our cotton yarn, to give it a knitters’ touch, but you can use a hanger, piece of wood, or even a branch!

Let’s start with an easy wall hanging, you probably already figured out how to do it. It’s simple with clean lines, and will look great in any room.

Cut pieces of cotton yarn in the same length (the final length of your wall hanging will be half the length of the pieces you cut because they will be folded in half). Cut a lot! The secret to a beautiful wall hanging is to make it very thick.

Put the cotton yarn onto the needle or other support that you are using. Fold the piece of cotton in half and place it under the needle.

Now slip the end of the thread through the loop formed and pull tight so it sits snuggly on the support. It’s like tying knots, easy peasy!
Repeat the above steps with all of the yarn until you have completely covered the knitting needle or piece of wood, making sure that each piece of yarn is snug against the last. To finish, tie a piece of yarn onto the ends to hang up your finished wall hanging.
Remember to trim the ends of yarn to the same length to get a professional finish.

This wall hanging is made by hanging tassels of different lengths to get an interesting look for our work of art J You can consult our complete tutorial on how to make tassels here.

To make the tassels, wrap the yarn around a flat, rectangular shape (such as a piece of cardboard or a book). The tassel will come out thicker or thinner depending upon the number of times you wrap the yarn. Once you are finished wrapping the yarn, cut the end as shown in the photo.
Tie a length of yarn onto the top loop of the tassel. Use different lengths of yarn for each tassel to vary the length for your wall hanging.

Carefully tie the tassel at the top to secure it. Trim the ends to the same length.

First tassel complete! Now make a few more in different colors and lengths.

The last step is to tie the tassels onto the knitting needle in the order you like best. We will tie them on in exactly the same way as for the first wall hanging: place the strand of yarn under the needle and then through the loop formed, and pull tightly to secure the yarn.

Of all the ways you can make a wall hanging this is by far the most creative and original, we love the ethnic touch!

This last wall hanging is a variation of the first, but this time the yarn is cut into a triangular shape and combines different color of cotton yarn.

The best way to make this one is to cut all of the threads of the same length, and then cut them with scissors into the desired shape once they are secured to the wooden support. This way the shape and cut will be more exact and you won’t have to trim them later.
To add the strands of cotton to the support, we use the same method: fold the yarn in half and place it under the knitting needle, slip the ends through the loop formed.

Don’t forget to pull the strands of cotton tightly to secure them. That’s the secret to a professional finish!
What did you think of this tutorial? Where would you hang one of these cotton wall hangings? If you made one, don’t forget to share it with us on social networks using the hashtag #weareknitters. We’d love to see it!